
Filing a Homeowners Insurance Claim Step by Step
Master filing a homeowners insurance claim step by step to maximize your payout. Call (833)-214-6397 for expert guidance.
By Adnan Nazir
When a storm tears off shingles, a pipe bursts behind a wall, or a burglar kicks in your back door, the last thing you want is a confusing claims process. Yet filing a homeowners insurance claim step by step can turn a chaotic moment into a manageable project. The difference between a smooth payout and a frustrating denial often comes down to what you do in the first 48 hours: how you document damage, what you say to your insurer, and whether you understand the adjuster's timeline. This guide walks you through each stage with practical detail, so you can protect your home, your wallet, and your peace of mind.
Step 1: Document Everything Before You Touch a Thing
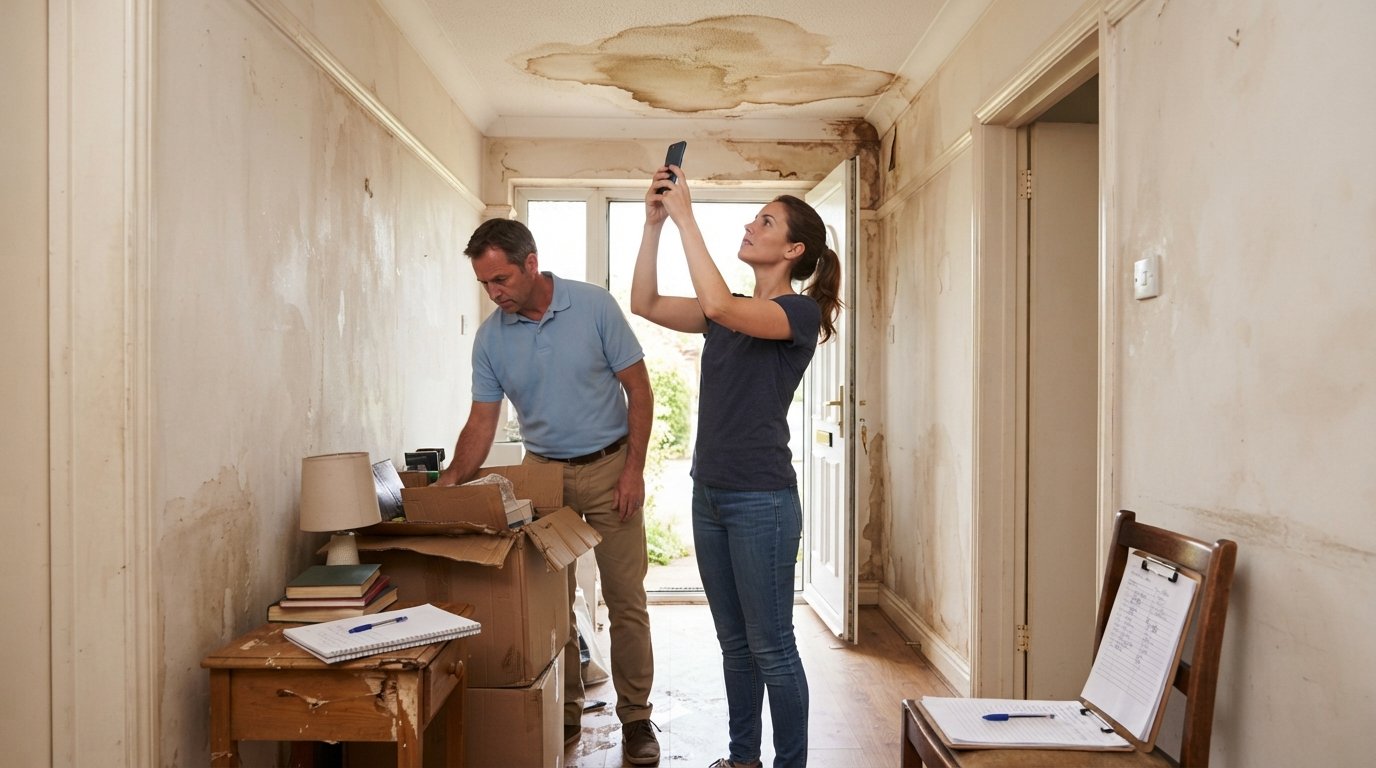
Before you grab a hammer or call a contractor, pick up your phone and start recording. Thorough documentation is the single most important thing you can do for your claim, and it costs nothing but a few minutes. Walk through every affected room and the exterior, taking wide shots that show the overall scene and close-ups of specific damage. Capture video commentary describing what you see: "This is the hallway ceiling, water stain is about three feet across, started after the storm last night." That timestamped narration becomes powerful evidence if the adjuster questions the cause or extent of damage.
Your documentation should also include a written inventory. List every damaged item, its approximate age, and its original cost if you can remember. For high-value electronics or furniture, check if you have receipts in email or cloud storage. If not, a quick photo of the item's serial number or model plate helps. The goal is to create a record that exists independently of your memory, because claims can take weeks or months to settle and details fade.
Once you have documented the damage, you can and should make temporary repairs to prevent further loss. A tarp over a leaking roof or a board over a broken window is not just common sense; most policies require you to mitigate additional damage. Keep every receipt for materials and labor, because those costs are often reimbursable under the "reasonable repairs" provision of your policy. Do not make permanent repairs until the adjuster has seen the damage, unless local authorities require it for safety reasons.
Step 2: File Promptly and Watch What You Say
Call your insurer or file online as soon as you have basic documentation. Most policies do not have a strict deadline for filing, but prompt notice is a condition of coverage. Waiting weeks or months can give an insurer grounds to deny your claim, especially if they argue that delay made it impossible to verify the damage. When you call, have your policy number ready and stick to the facts: what happened, when it happened, and what damage you observed. Avoid speculation about cause, and never say "I think it might be my fault" or "It's probably not covered." Those offhand comments can be recorded and used against you later.
You will also want to avoid the common traps that sink claims. Do not sign anything from a contractor before your insurer has inspected, and do not accept a quick cash settlement on the spot. Do not throw away damaged property until the adjuster says it is okay; if you must discard something for health reasons, photograph it first and keep a small sample if possible. And do not post details about your claim on social media, because insurers increasingly monitor public posts for inconsistencies.
After you file, the insurer will assign a claim number and an adjuster. Ask for the adjuster's name, contact information, and a timeline for inspection. Write down the date and time of every conversation, and follow up with an email summarizing what was discussed. That paper trail keeps everyone accountable and gives you a reference point if the process drags on. If you are unsure whether your policy covers the damage, a quick call to your agent can clarify deductibles and coverage limits before you proceed. For broader guidance on comparing home insurance options, you can explore resources like the average cost of small group health insurance, though that focuses on health coverage rather than property claims.
Step 3: Understand the Adjuster Timeline and Proof of Loss
After you file, the adjuster will schedule an inspection, usually within a few days to two weeks depending on the volume of claims in your area. During the inspection, walk the property with the adjuster and point out every item you documented. Ask questions about what they are photographing and how they are measuring damage. The adjuster works for the insurer, but a cooperative, organized homeowner often gets a smoother experience. Keep your documentation handy and offer copies of receipts or photos.
Within a reasonable time after inspection, the insurer will send you a proof of loss form. This is a sworn statement listing the amount you are claiming and the supporting evidence. Fill it out carefully and completely, and submit it by the deadline stated in the letter (often 30 to 60 days). Missing that deadline can jeopardize your claim. If you need more time, request an extension in writing before the deadline passes. The proof of loss is a formal document, so accuracy matters: double-check dates, amounts, and descriptions against your inventory.
Once the proof of loss is accepted, the insurer will issue a payment. Many policies pay the actual cash value (replacement cost minus depreciation) first, with a second payment for recoverable depreciation after you complete repairs and submit receipts. Understand your policy's payment structure before you start hiring contractors. If the initial payment seems low, do not cash the check immediately; you can negotiate or request a supplement.
Step 4: Handle Supplements When Hidden Damage Appears
Hidden damage is common. A small roof leak can rot decking; a burst pipe can warp subfloors. When your contractor opens a wall and finds mold or structural damage that the adjuster did not see, you need a supplement. A supplement is a request for additional funds based on new evidence. Contact your adjuster immediately, document the newly discovered damage with photos and video, and ask for a reinspection. Most insurers expect supplements and will process them without much friction if you provide clear proof.
To strengthen a supplement request, have your contractor write a detailed scope of work that explains why the additional repairs are necessary and how they connect to the original damage. Submit that scope along with your photos. If the insurer denies the supplement, ask for the denial in writing and the specific policy language they are relying on. You can then decide whether to escalate to a supervisor or, in some cases, a public adjuster. A public adjuster works for you, not the insurer, and typically charges a percentage of the settlement, but they can be valuable for large or complex claims.
Throughout the process, keep in mind that your insurer is a business, and your claim is a negotiation. Being organized, persistent, and polite gets better results than being aggressive. If you feel stuck, consider using a comparison tool to review your current policy and see if a different carrier offers better claims service. Sites like QuoteComparison let you compare quotes from multiple insurers, which can be useful when your renewal approaches or if you are unhappy with how your claim was handled.
Step 5: Close Out the Claim and Prepare for Next Time
Once repairs are complete and you have received all payments, the claim is closed. But your work is not quite done. Request a copy of the final claim file, including the adjuster's report and all payment records. Review it for accuracy. If you spot errors, ask for corrections. This file becomes important if you need to file a supplemental claim later or if you switch insurers and need to explain your claims history.
Take a moment to update your home inventory and review your coverage limits. Many homeowners discover after a claim that their dwelling coverage is too low to rebuild at current construction costs. Consider whether you need an inflation guard endorsement or a higher replacement cost limit. Also, ask your agent about any discounts for storm shutters, alarm systems, or other mitigation measures that can lower your premium and reduce future risk.
Filing a homeowners insurance claim step by step does not have to be overwhelming. By documenting thoroughly, filing promptly, understanding the adjuster's process, and staying on top of supplements, you can maximize your recovery and minimize stress. The key is to treat the claim like a project: gather evidence, communicate in writing, and follow up until you have the settlement you deserve.